Check into your first net
By the end of this you will have an account and your callsign will be on a net’s check-in list, visible to Net Control and to everyone else watching.
You need a callsign, an email address you can read right now, and a browser. Nothing to install.
This walkthrough uses app.ectlogger.us, the hosted instance. If your club runs its own, use that address instead; everything else is identical.
1. Get in
Go to the site. You can look around without signing in: you land on the list of nets, with a Login button at the top right. Click it to reach the sign-in page.
Type your email address and click Send Magic Link.
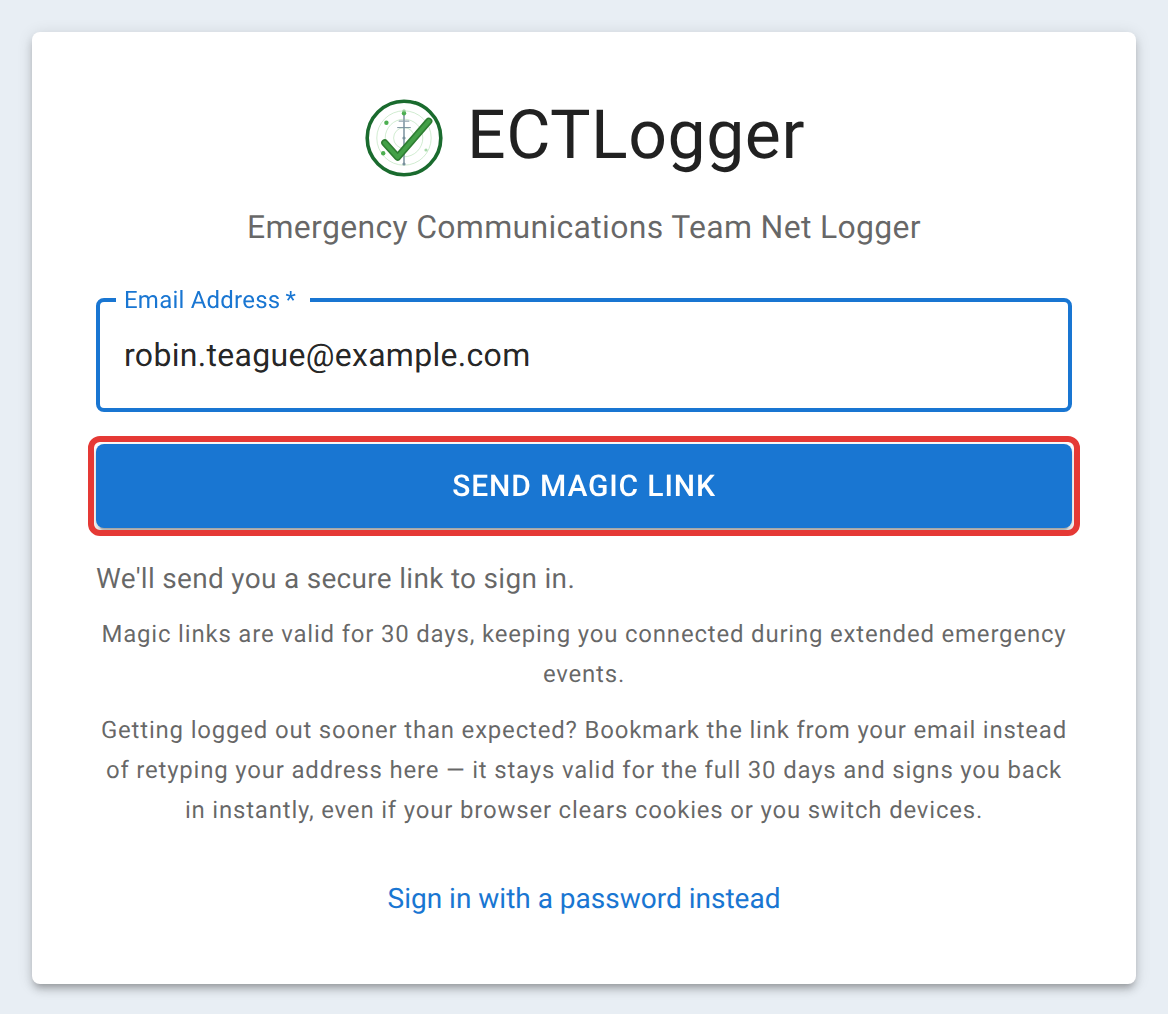
There is no separate sign-up step. If that address has never been used here, clicking the link in the email creates the account on the spot.
Now go and read your email. The message has a link in it; click it, and you are signed in. The link is good for 30 days, which is deliberate: during a multi-day activation nobody wants to be signed out at three in the morning. Bookmark that email rather than retyping your address every time, and you will stay signed in even if your browser clears its cookies or you move to another device.
If the email does not arrive within a minute or two, check the spam folder. If your club runs its own instance and no message ever arrives, it is almost certainly the server’s mail configuration and not you; tell whoever runs it.
If clicking Send Magic Link does nothing at all, or the link in the email opens a page that never finishes signing you in, the usual cause is an ad blocker or a script blocker on your own browser rather than anything at our end. Signing in explains what to allow.
There is a second way in, underneath: Sign in with a password instead. You have no password yet, so it will not help tonight, but it is worth setting later for the night your email is not working. Signing in covers that, and two-factor authentication along with it.
2. Fill in who you are
The first time you sign in, ECTLogger asks for your name and your callsign before it lets you do anything else.
Put your real name in Name, and your callsign in Primary Call Sign. Net Control will be reading both off the screen while they work the list, so this is not the place for a handle or a link. Put a callsign in even though the field says it is optional: it is what your check-ins get filed under, and the whole app is organized around it.
If you hold more than one callsign, or a GMRS callsign as well, add the rest later in your profile. See your account and profile.
Click Continue. A short ECTLogger Walkthrough follows, a few cards introducing the main screens. Step through it with Next, or click Skip. It does not come back on its own, but Help, then Start Walkthrough, reopens it any time.
3. Find the net
You land on the dashboard, which lists the nets on this instance. An active net carries a green active chip.
Find the net you want and click View.
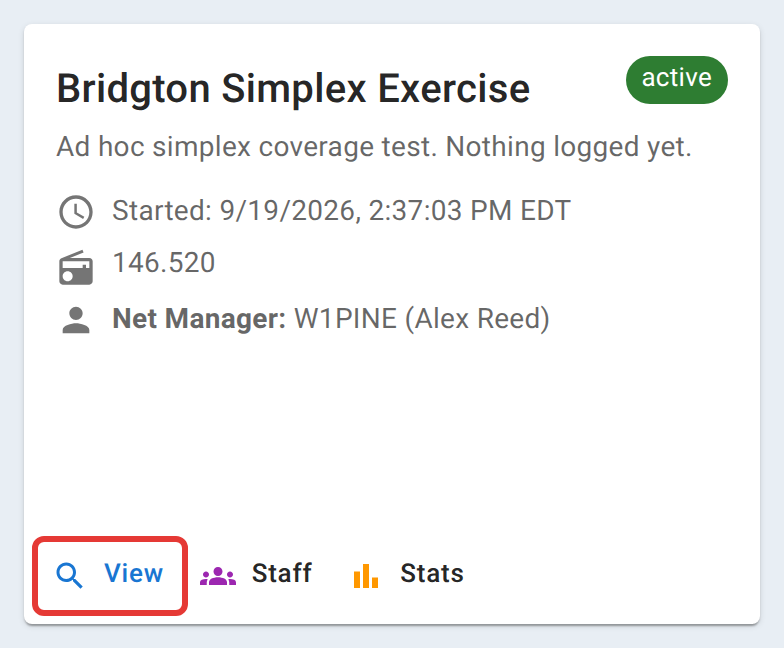
If the list is long, click the filter button (the funnel icon near the top right) to open a box that filters by net name, description, Net Control’s callsign, or frequency. If the net you want is not there at all, it may not have started yet, or it may already be closed; finding a net covers where everything else lives.
4. Check in
The net has a toolbar across the top. Click Check in, over on the right of it.

A dialog opens with your callsign already filled in. Every other field is optional unless this net’s manager has asked for it.
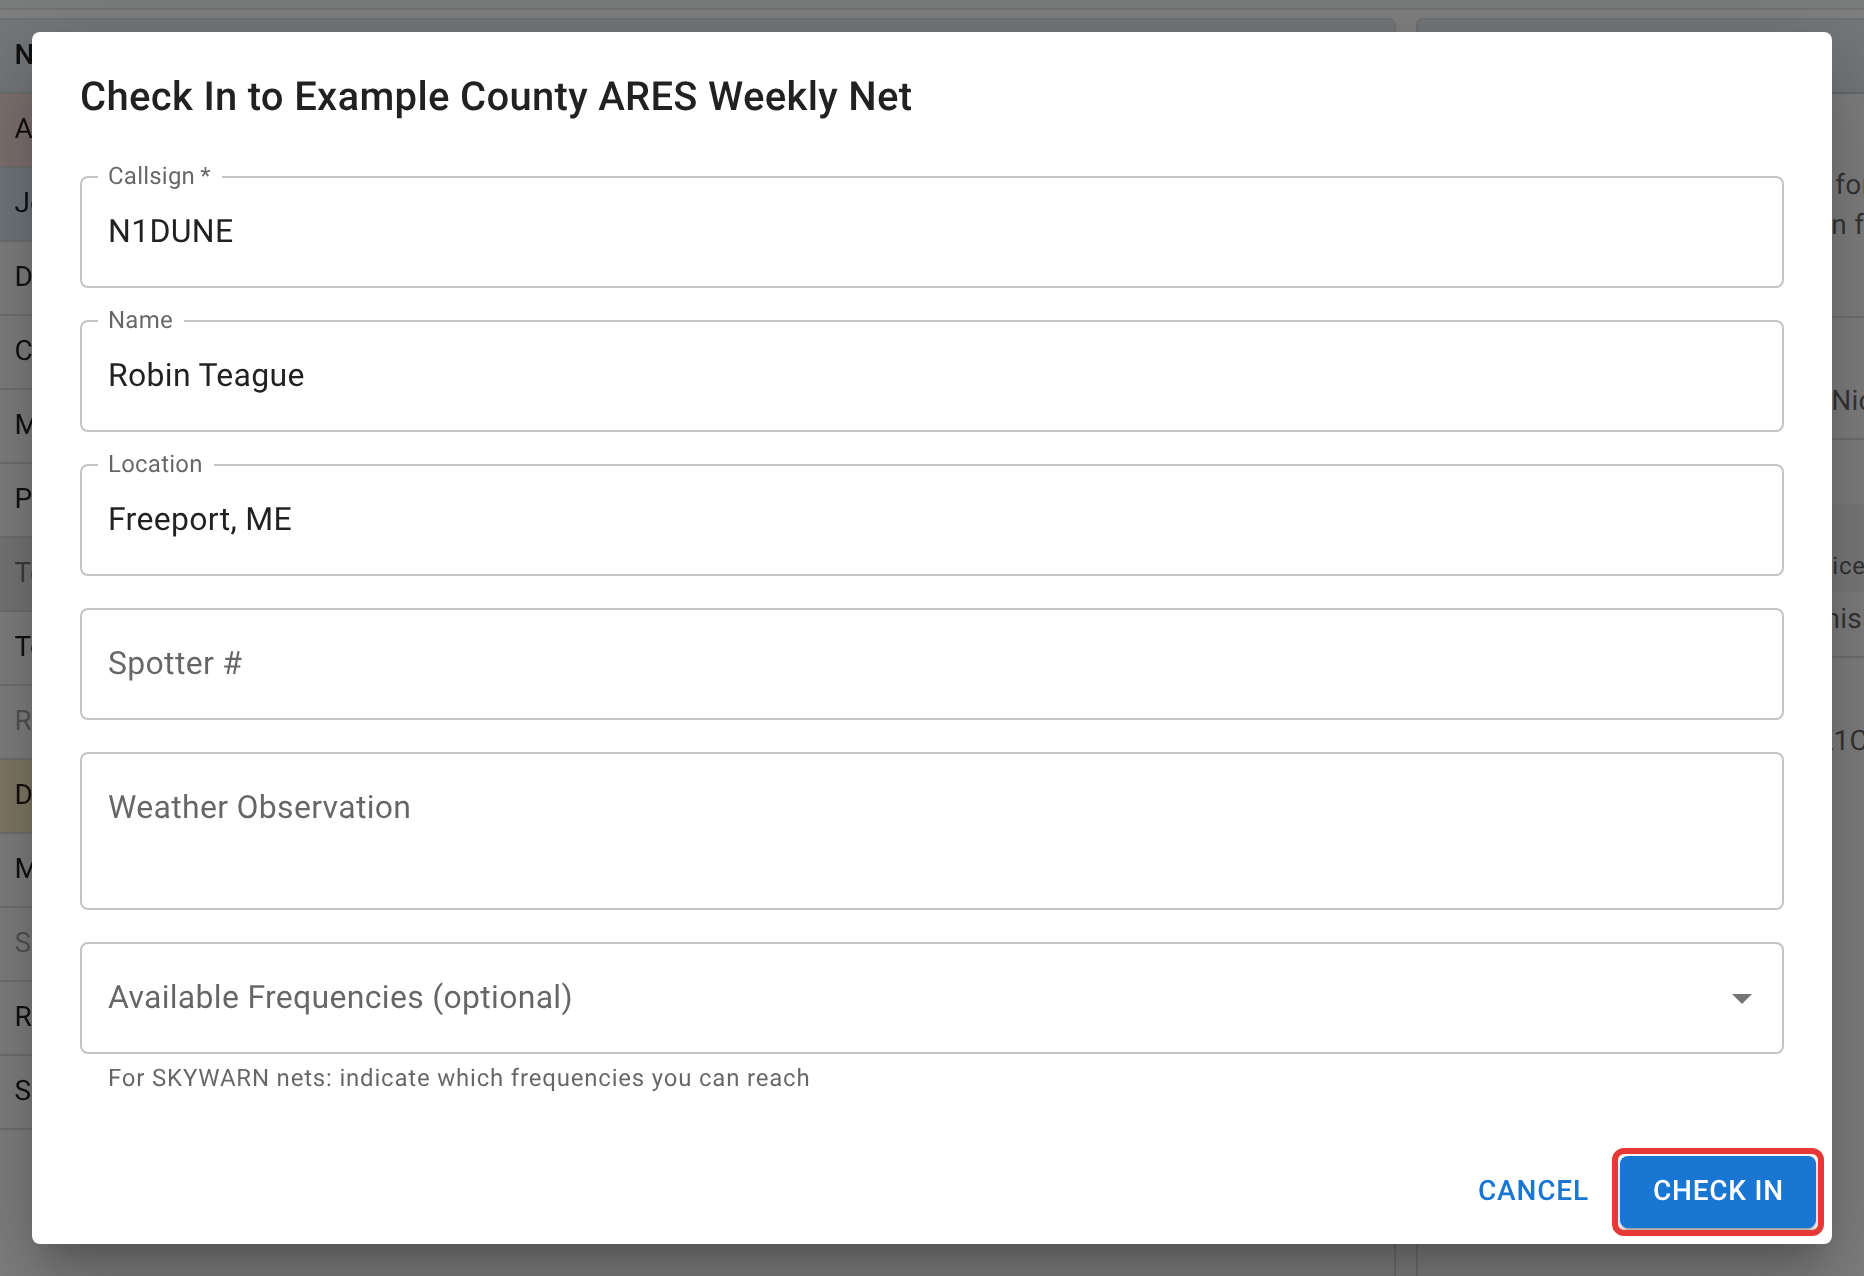
Fill in Location if you can. It is what puts you on the net’s map, and it accepts a town and state, a grid square, or coordinates. The location formats page lists everything it understands.
Click Check In.
5. You are on the list
Your callsign appears in the check-in list, with a green check mark against it and the time you checked in.
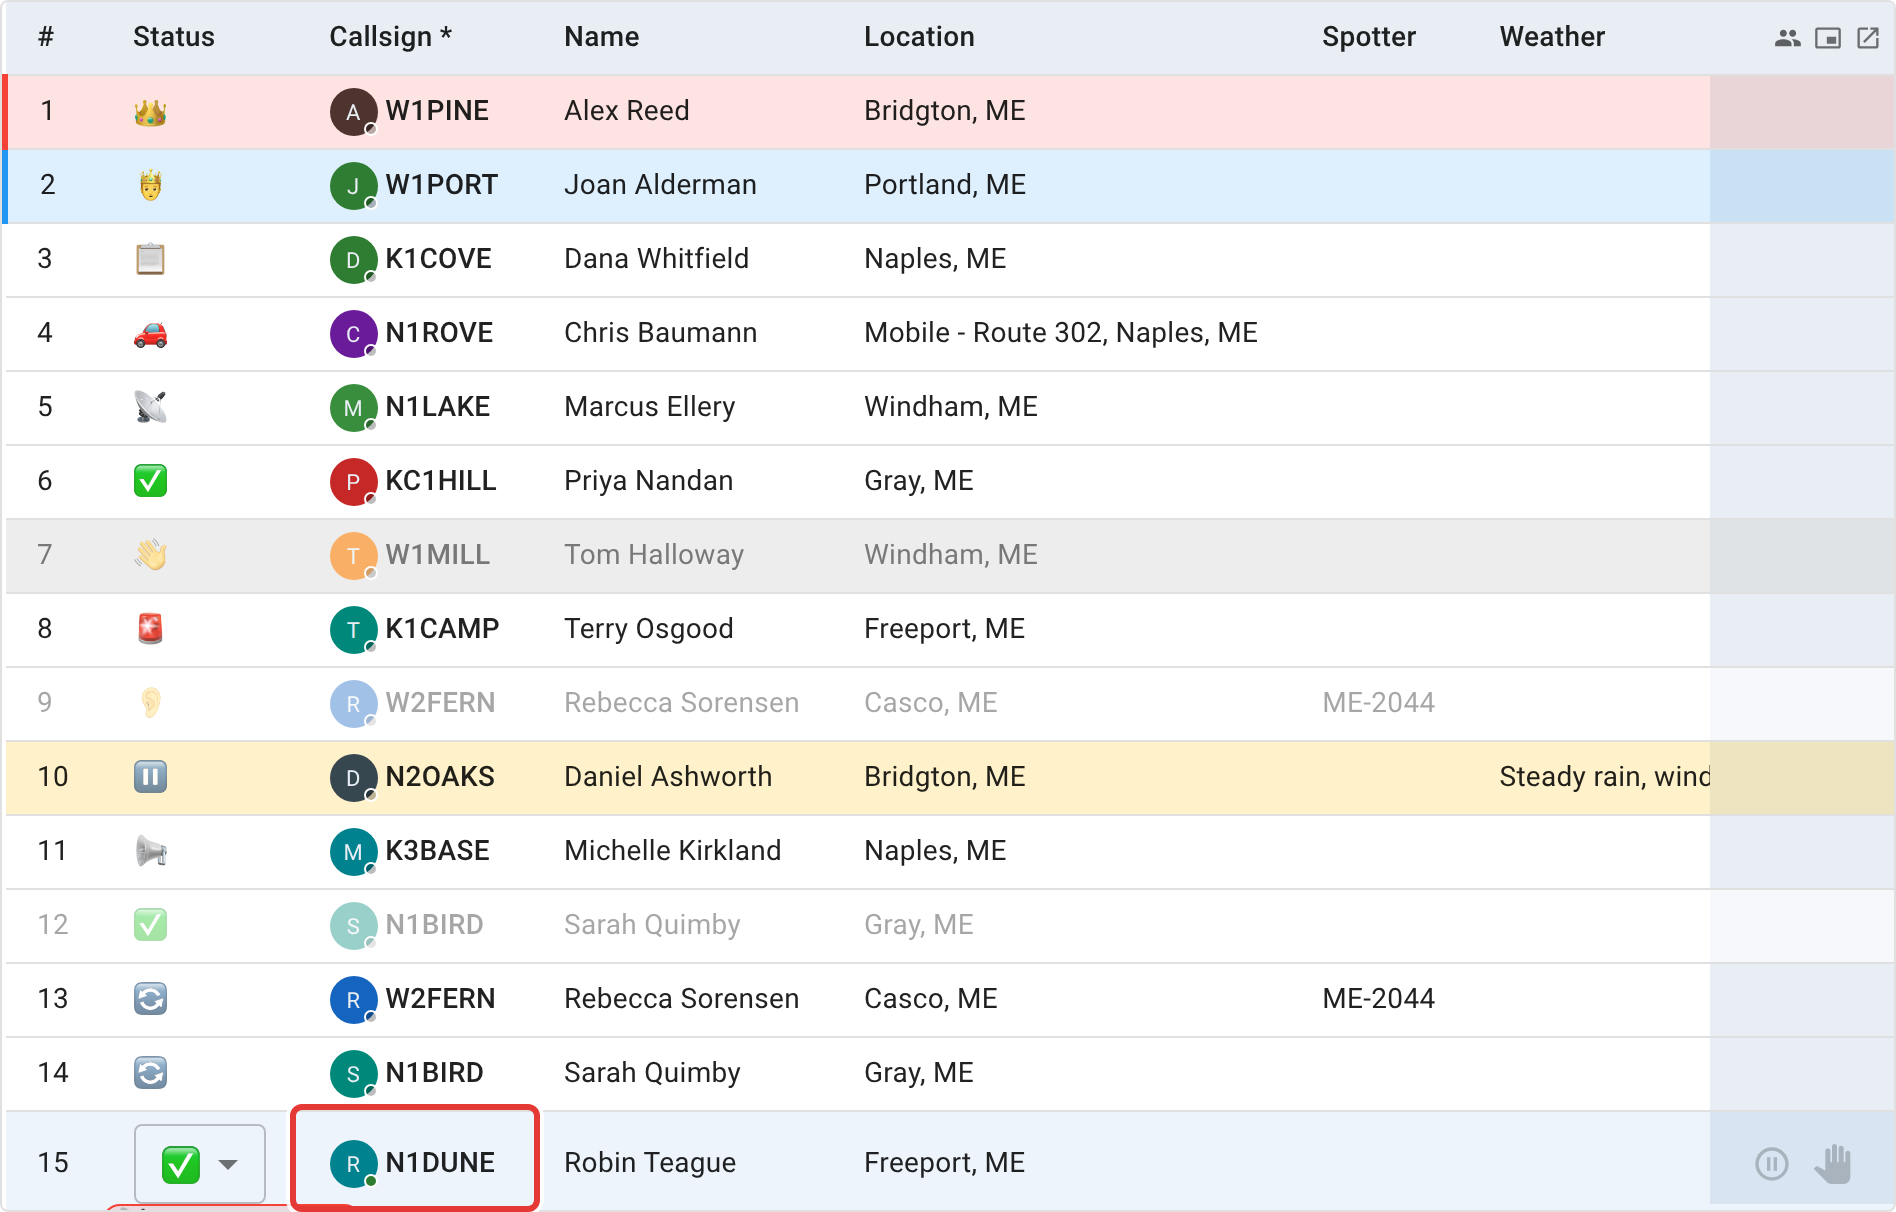
That is it. You are logged, Net Control can see you, and the net’s record will show that you took part.
A few things worth knowing before you close the tab:
- Set your status honestly if it changes. The dropdown on your own row is yours. If you step away from the radio, set Away; if you are only monitoring, set Listening only. Net Control works the list from top to bottom and calls people who say they are there.
- Or use the toolbar, which is quicker. Now that you are checked in, the toolbar has grown Step away and Just listening buttons, which set those same two statuses in one click without you finding your row at all. Each one toggles: click it again to come back. There is a Raise hand button there too, for when you want Net Control to notice you without changing your status.
- Check out when you leave. Click Check out in the toolbar. It does not remove you from the log or the map, it just tells Net Control not to wait for you.

Where to go next
The operators path covers all of this properly: status, rechecks, and checking out, chat and polls, your location and the map, and what the app counts toward your statistics.
If you would rather run a net than check into one, run your first net is the next tutorial.